02. Git Add
Move To Correct Project
If you've been following along, you should have two different directories with Git projects on your computer:
- new-git-project - an empty directory that you converted to a Git repository using
git init - course-git-blog-project - an existing blog project you retrieved using
git clone
To avoid any confusion with existing commits, we'll be making our commits to the new-git-project Git repository.
On the Terminal, make sure you cd into the new-git-project directory. If you don't have a new-git-project directory, create it now. Once you're inside the directory, run the git init command. If you've already run git init before it's ok – running git init multiple times doesn't cause any problems since it just re-initializes the Git directory.
Proper Setup
Task Description:
Time to make sure we both have the same setup:
Task Feedback:
Perfect!
Your Terminal should look like this:
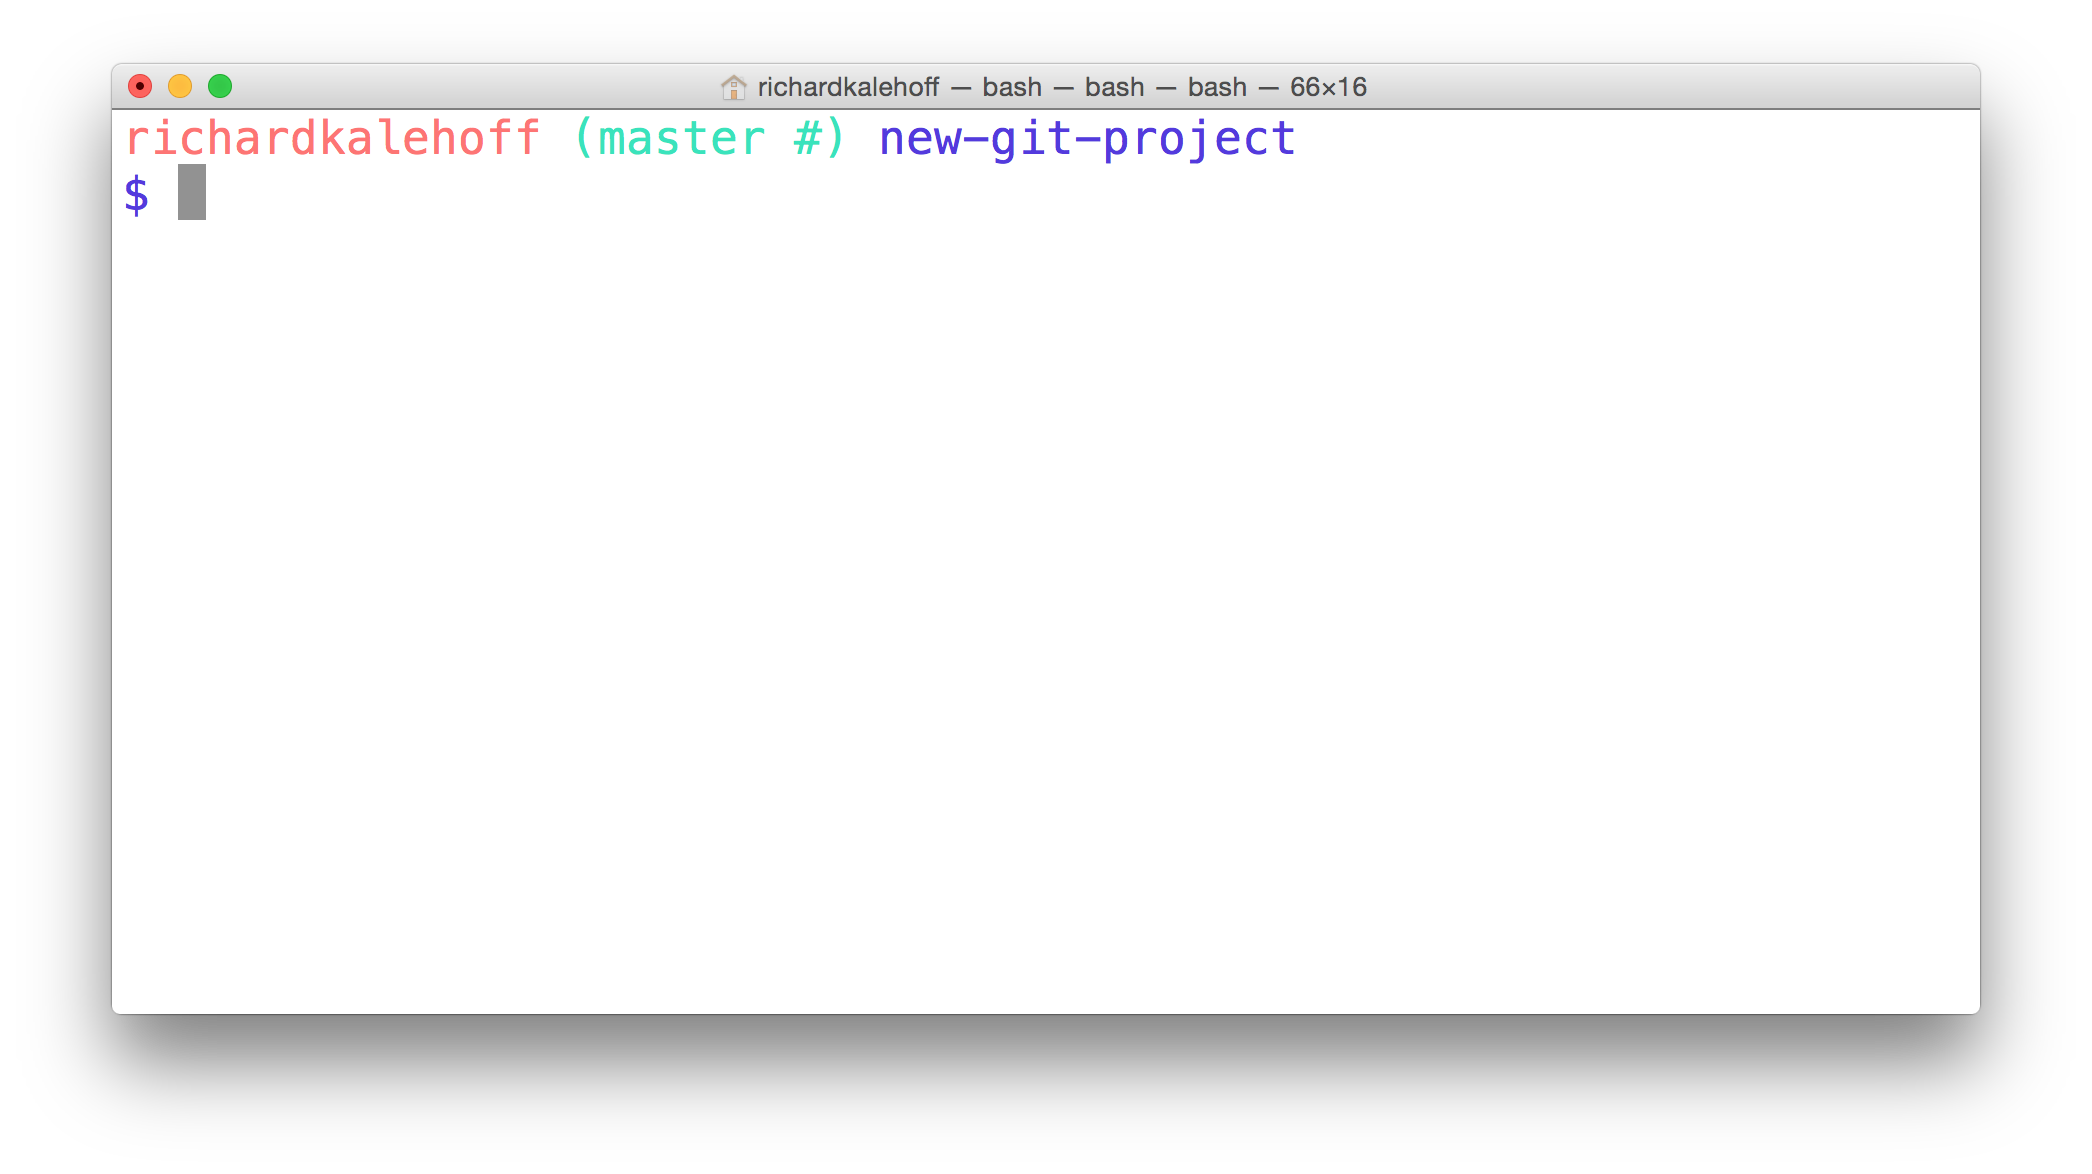
The Terminal application in the new-git-project directory.
Status Status Status
I've said it a number of times already, but the git status command will be extremely helpful in this lesson. You should have it as your goal to run the git status command both before and after any other Git command.
Let's run it right now!
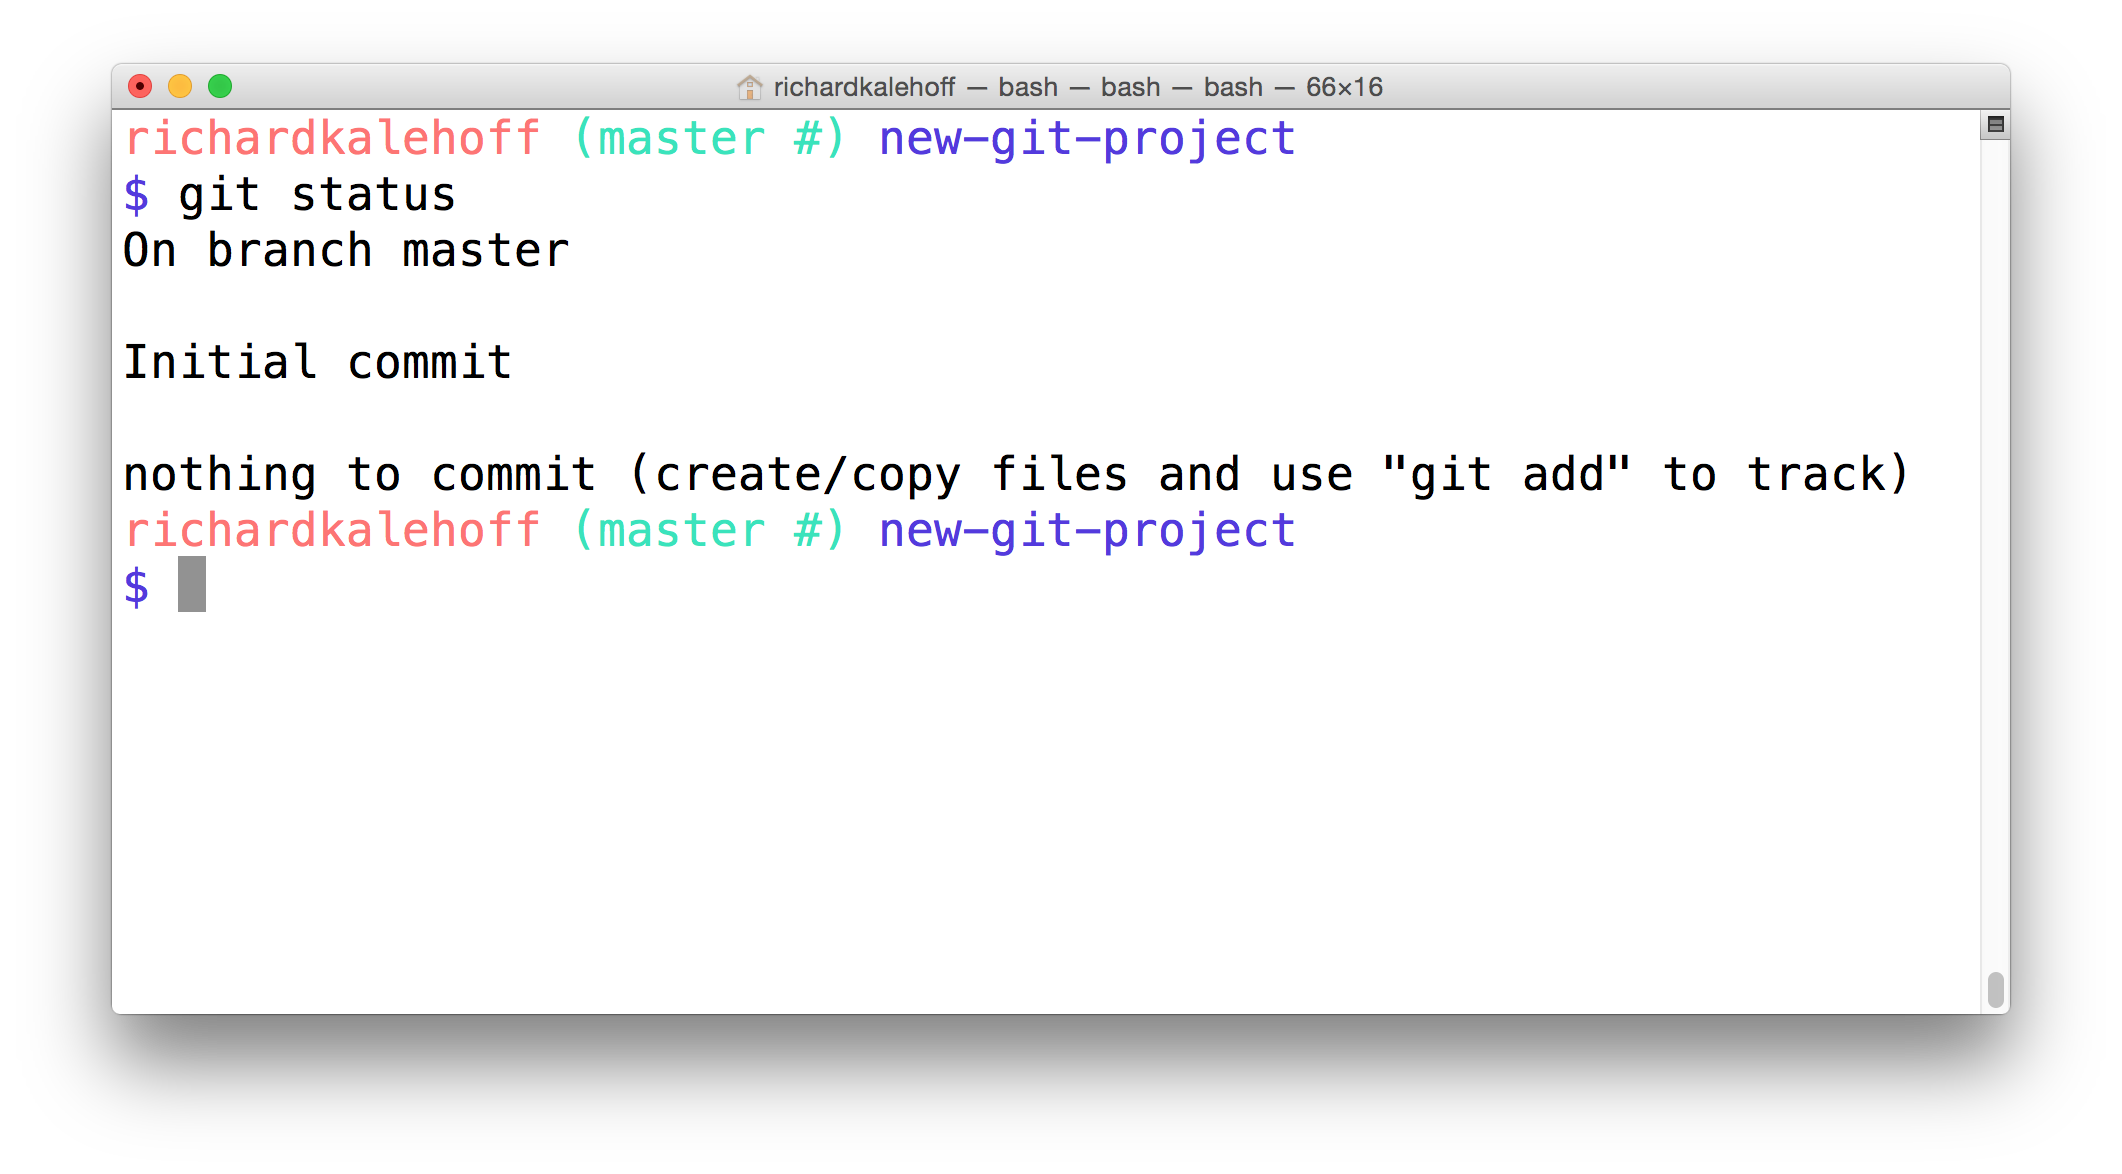
The Terminal application showing the output of the git status command.
Git Status Output Review
This is the output:
On branch master

Initial commit

nothing to commit (create/copy files and use "git add" to track)
💡 Changes in Git v2.14 💡
Remember that in Git version 2.14, the
git statuscommand changed the wording from "Inital commit" to the much clearer "No commits yet". So the output would be:
On branch master

No commits yet

nothing to commit (create/copy files and use "git add" to track)
Notice that last line – nothing to commit (create/copy files and use "git add" to track). See how it's recommending the git add command? that's super helpful! The git status output will give you advice or hints as to what you should do next.
Let's do what the feedback says and create some files.
Create An HTML File
First, create a file named index.html, and fill it with some starter code:
<!doctype html>
<html lang="en">
<head>
    <meta charset="utf-8">
    <title>Blog Project</title>
    <meta name="viewport" content="width=device-width, initial-scale=1">
    <meta name="description" content="">
    <link rel="stylesheet" href="css/app.css">
</head>
<body>

    <script src="js/app.js"></script>
</body>
</html>
Things to note, the code references a CSS file and a JavaScript file.
Now create the CSS and JavaScript files. You can leave both of these files empty. We'll add content to them in a bit.
Verifying Project Setup
Task Description:
Before we proceed, let's make sure we have the same setup. Check off each of the following as you complete them:
Task Feedback:
Awesome, great work!
Quick Git Status Check
We just made a number of changes to the repository by adding files and content. It's time to do a quick check-in with Git:
$ git statusHere's what my Terminal displays:
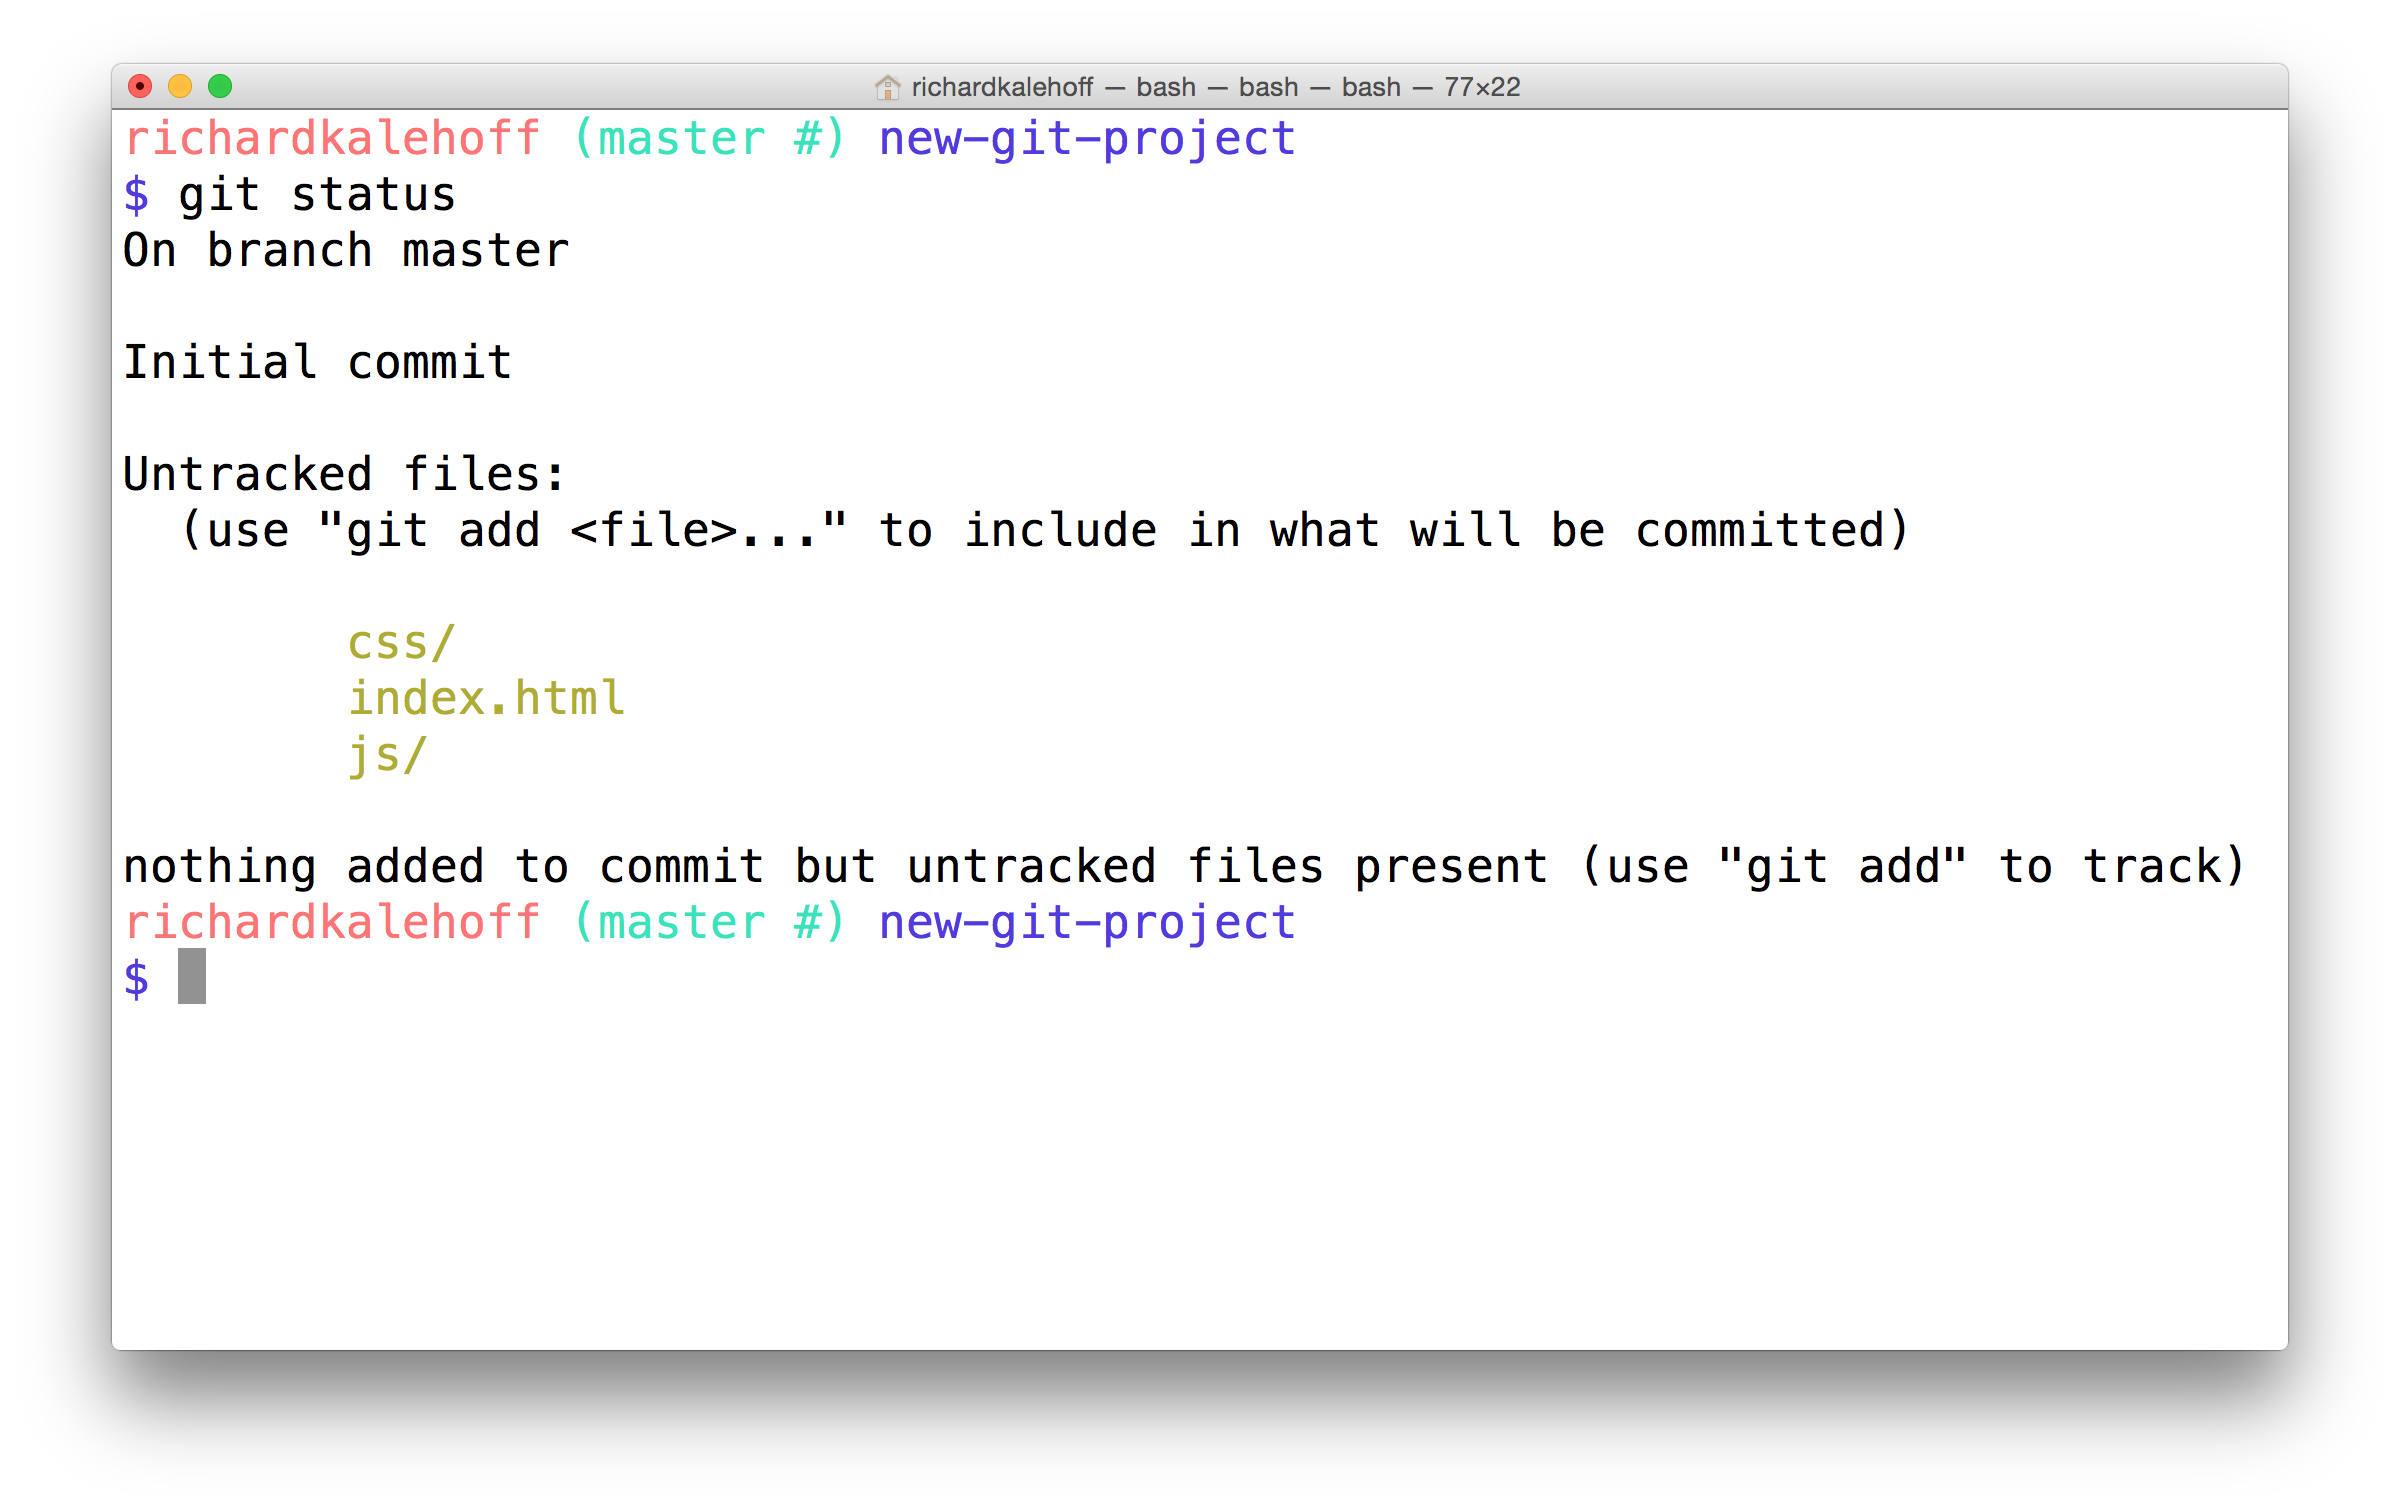
The Terminal application displays the index.html file, and the css and js folders in the new "Untracked files" section.
Big Picture Review
That's really cool, isn't it! We haven't done anything specific with Git just yet, but it's watching this directory (since it's a Git project), and it knows that we've created a couple of new files. What's also pretty neat about the output of the git status command is that it's telling us that the files are untracked by Git.
Let's do a quick review of what's going on and what we're about to do:
- we have some new files that we want Git to start tracking
- for Git to track a file, it needs to be committed to the repository
- for a file to be committed, it needs to be in the Staging Index
- the
git addcommand is used to move files from the Working Directory to the Staging Index - there are currently three, untracked files in the Working Directory
index.htmlapp.cssin thecssdirectoryapp.jsin thejsdirectory
So the first step to getting any files committed to the repository is to add them from the Working Directory to the Staging Index. We will be using the git add command to move all three of these files to the Staging Index.
The untracked HTML, CSS, and JavaScript files add from the Working Directory to the Staging Index.
Staging Files
Alrighty, it's go time! Run the following command on the Terminal which uses git add to add index.html to the Staging Index:
$ git add index.htmlNote - we are only adding the index.html file. We'll add the CSS and JavaScript files in just a second.
The Terminal application. The command "git add index.html" is being typed out to add the file to the Staging Index.
Running the git add command produces no output (as long as there wasn't an error). So how do we have Git tell us what it did and has happened to the index.html file that was added? That's what git status does. You're probably sick of me stressing the importance of the git status command, but it's an extremely helpful command, especially if you're new to version control and/or the command line.
Let's check out the status of the project:
$ git statusThis is the output I get:
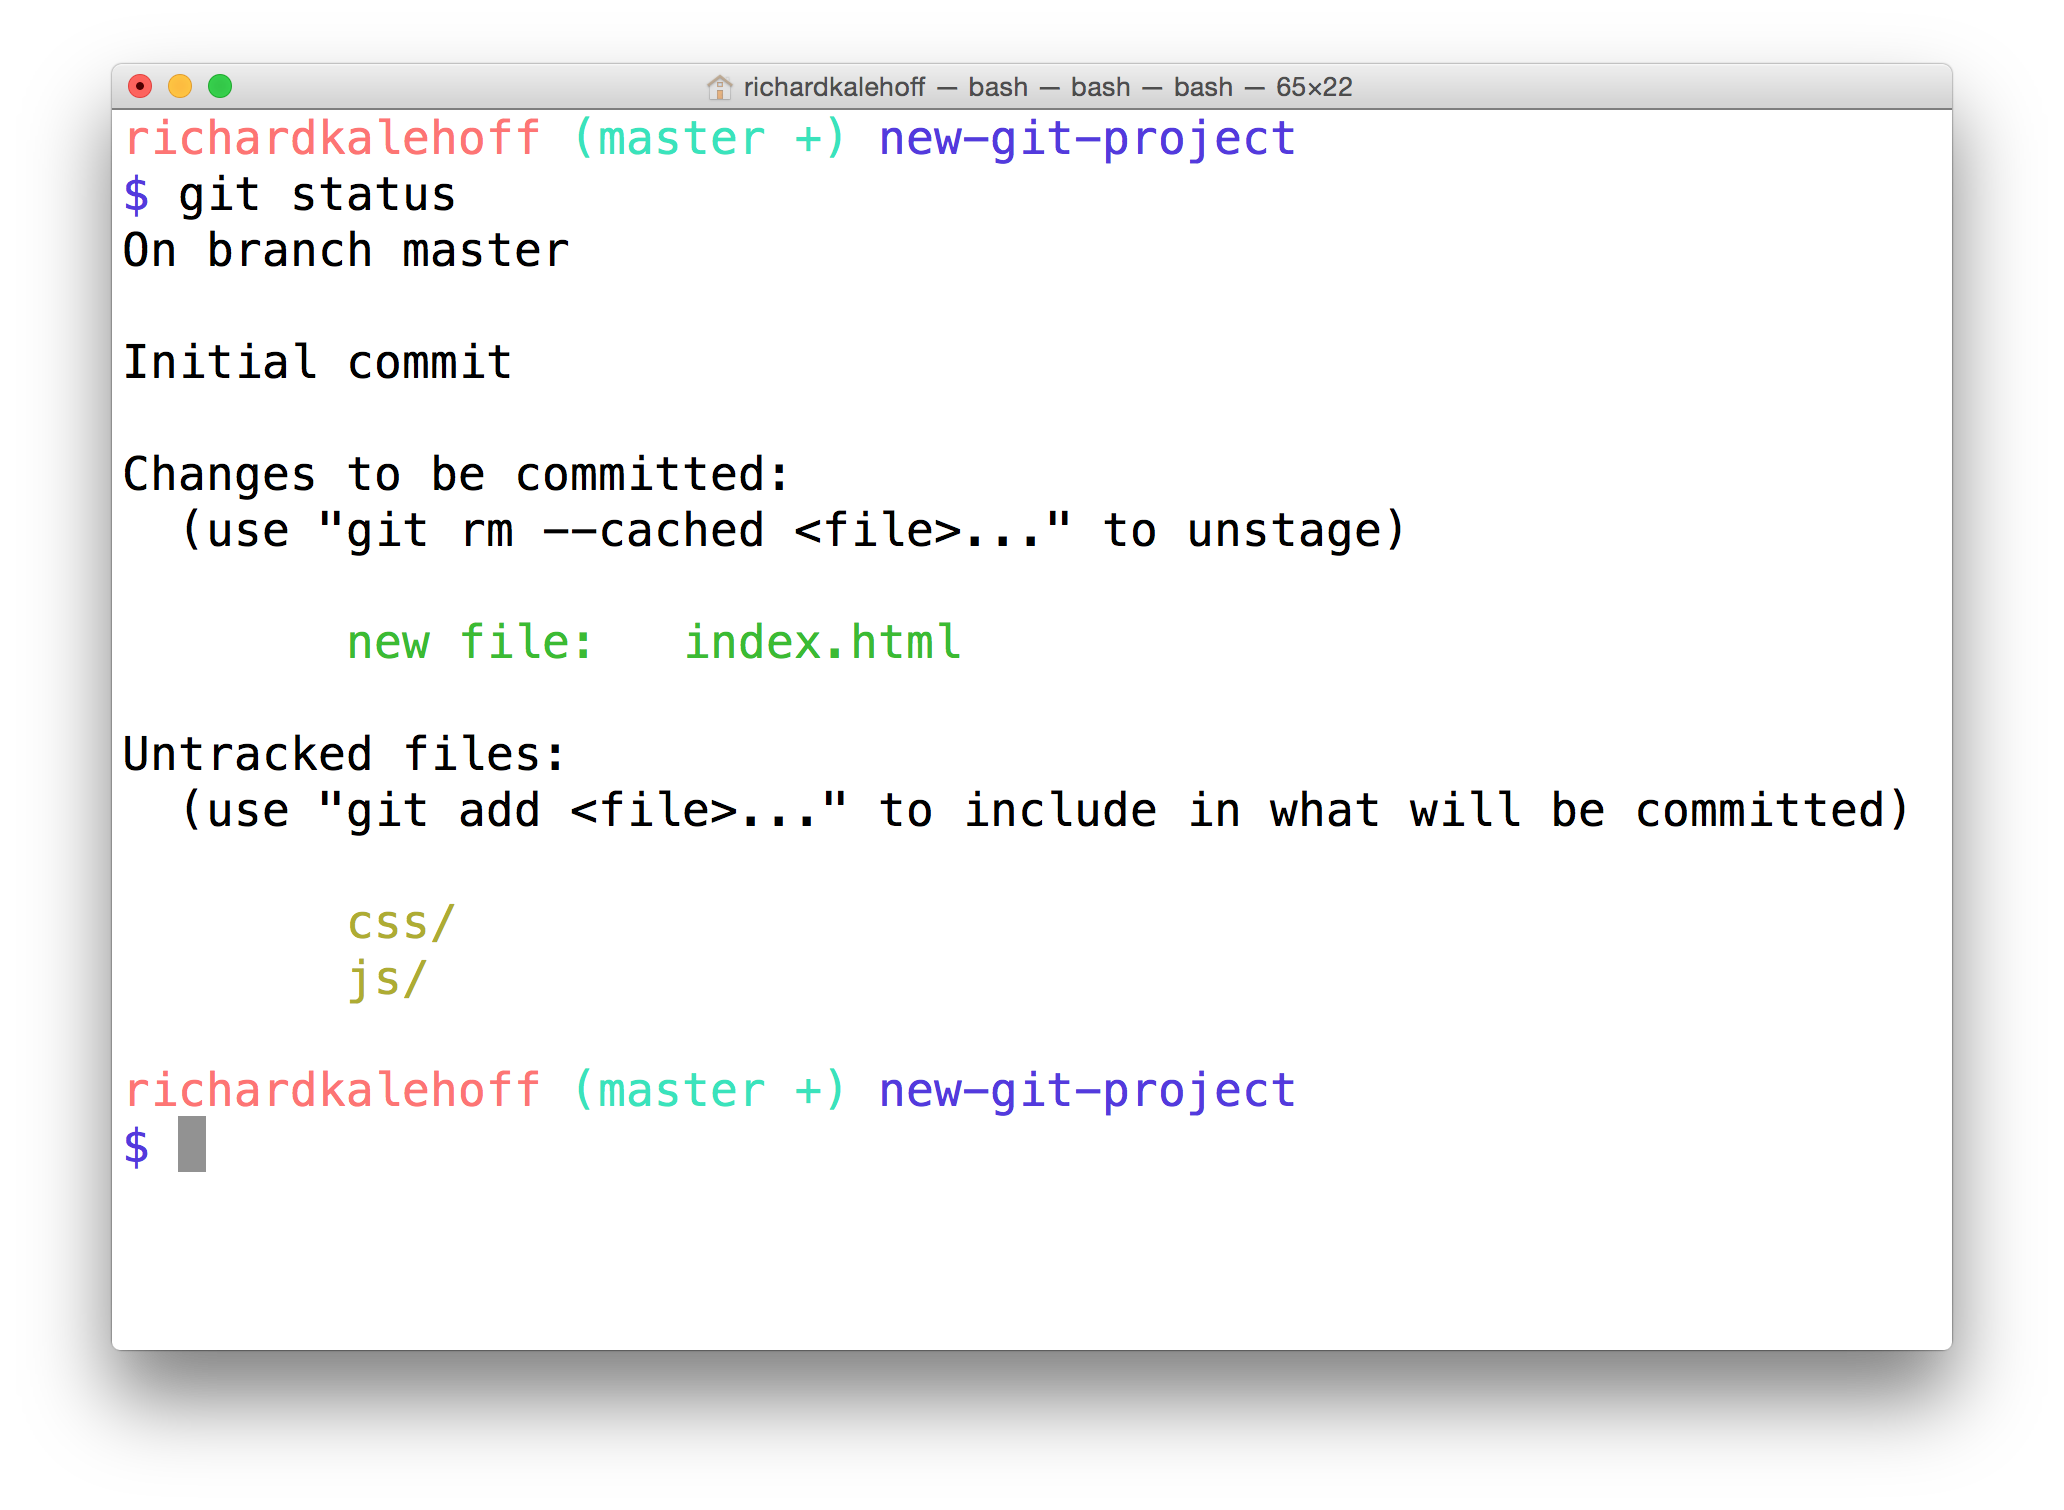
The Terminal application showing the result of running the git status command. It shows that index.html is now in the "Changes to be committed" category.
Changes To Be Committed
There's now a new section in the output of git status - the "Changes to be committed" area! This new "Changes to be committed" section displays files that are in the Staging Area! Right now it only displays the index.html file, so this file is the only item on the Staging Index. To continue this train of thought, if we made a commit right now, only the index.html file would be committed.
TIP: Did you also notice the helpful text that's located just beneath "Changes to be committed"? It says
(use "git rm --cached <file>..." to unstage)This is a hint of what you should do if you accidentally rangit addand gave it the wrong file.
As a side note,
git rm --cachedis not like the shell'srmcommand.git rm --cachedwill not destroy any of your work; it just removes it from the Staging Index.
Also, this used the word "unstage". The act of moving a file from the Working Directory to the Staging Index is called "staging". If a file has been moved, then it has been "staged". Moving a file from the Staging Index back to the Working Directory will unstage the file. If you read documentation that says "stage the following files" that means you should use the
git addcommand.
Stage Remaining Files
The index.html file has been staged. Let's stage the other two files. Now we could run the following:
$ git add css/app.css js/app.js…but that's a lot of extra typing. We could use a special command line character to help:
The Period .
The period refers to the current directory and can be used as a shortcut to refer to all files and directories (including all nested files and directories!).
$ git add css/app.css js/app.js
# would become
$ git add .
The only thing to be careful of is that you might accidentally include more files than you meant to. Right now we want both css/app.css and js/app.js to be staged, so running this command is fine right now. But let's say you added some images to an img directory but didn't want to stage them just yet. Running git add . will stage them. If you do stage files that you didn't mean to, remember that git status will tell you the command to use to "unstage" files.
Stage The Remaining Files
Let's use the shortcut to stage the remaining files:
$ git add .And then a quick git status:
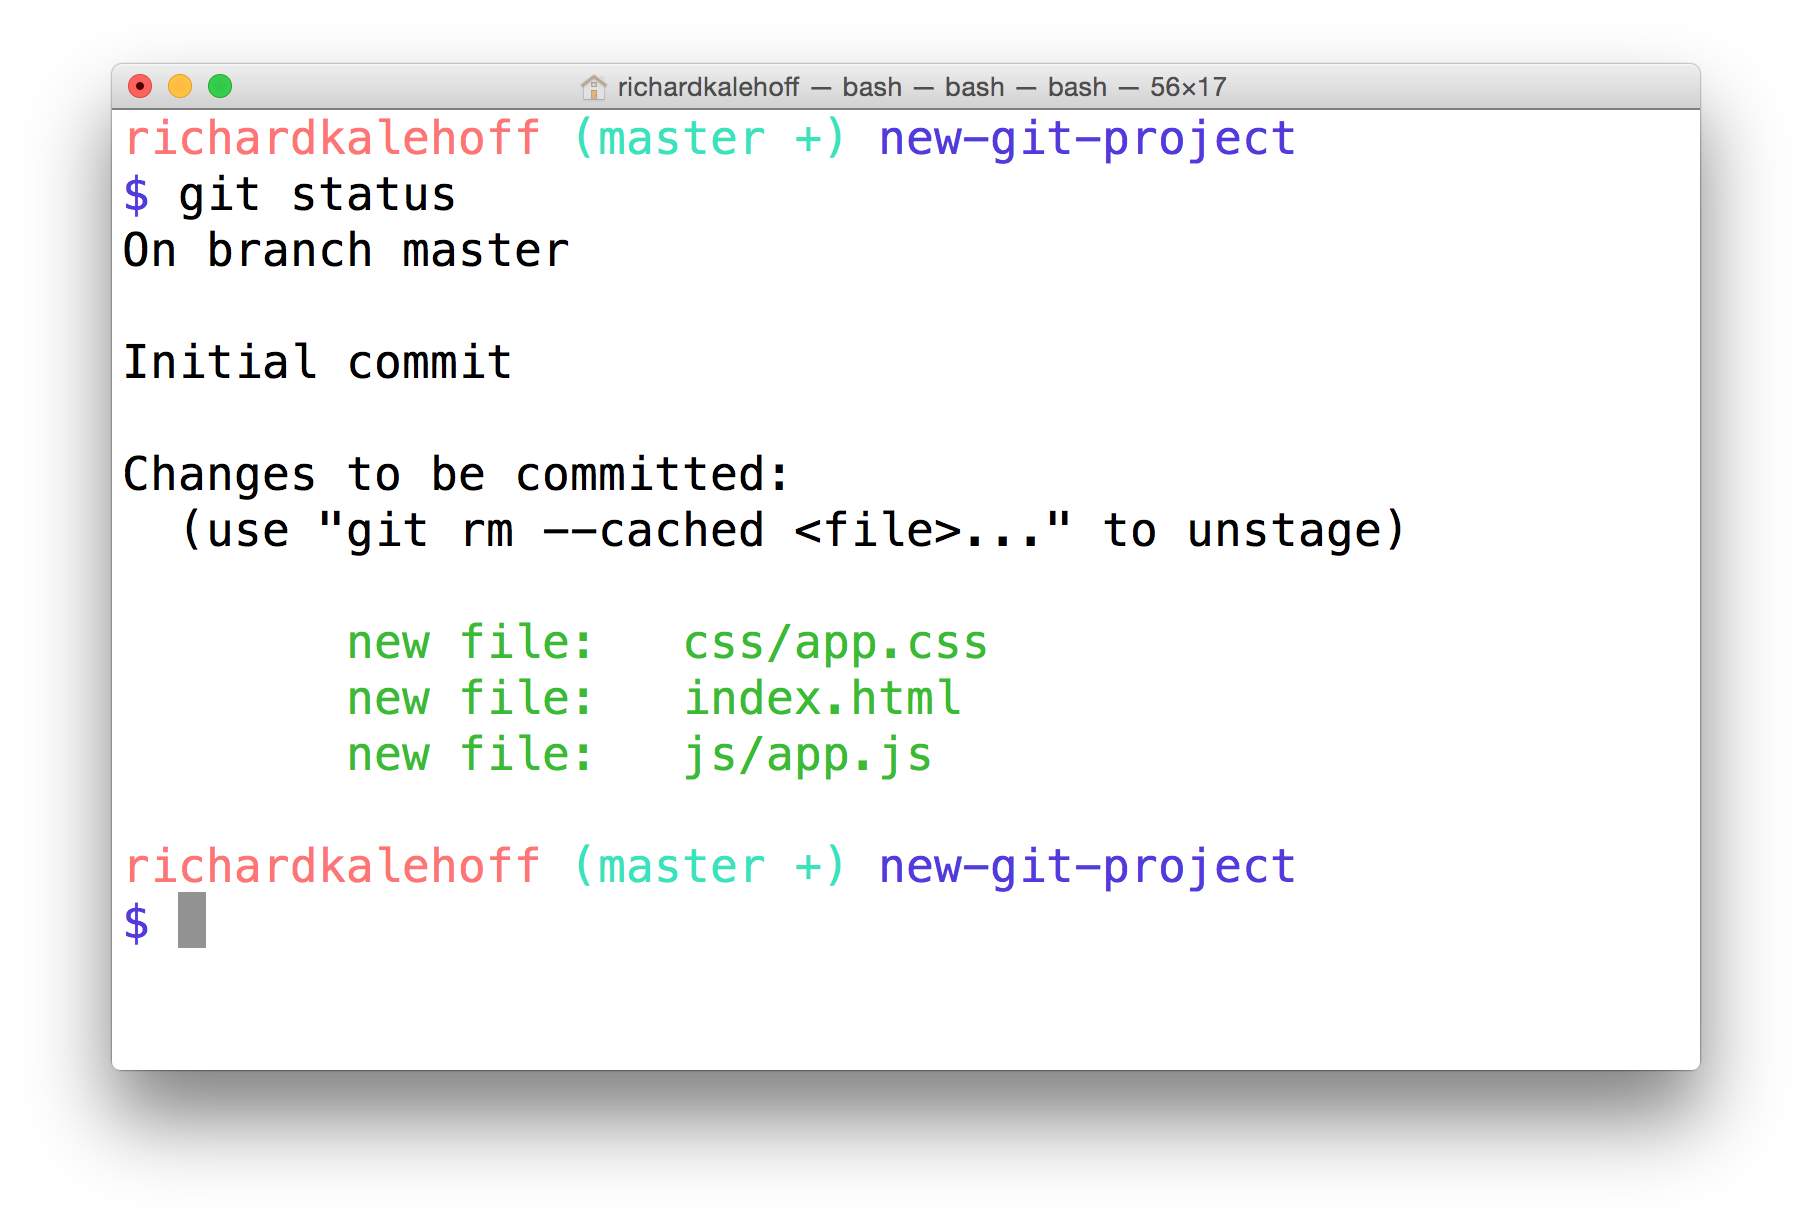
The Terminal application showing the index.html, css/app.css, and js/app.js have been staged.
Git Add Recap
The git add command is used to move files from the Working Directory to the Staging Index.
$ git add <file1> <file2> … <fileN>This command:
- takes a space-separated list of file names
- alternatively, the period
.can be used in place of a list of files to tell Git to add the current directory (and all nested files)